Everything You Need to Know About Wooden Floating Shelves
Wooden floating shelves are extremely popular right now in modern offices, bedrooms, bathrooms, and kitchens. The concept of floating shelves isn’t new, but new technology has made them much more universally available to hang.
You don’t typically need a strong background in hanging wooden floating shelves to hang them anymore. Instead, the average DIYer can do it nowadays with the tools that they have available to them in no time.
In this article, we’re going to talk about everything you need to know about installing wooden floating shelves in your home, regardless of whether they’re oak floating shelves, walnut floating shelves, or even cherry wooden shelves.
What Is a Floating Shelf?
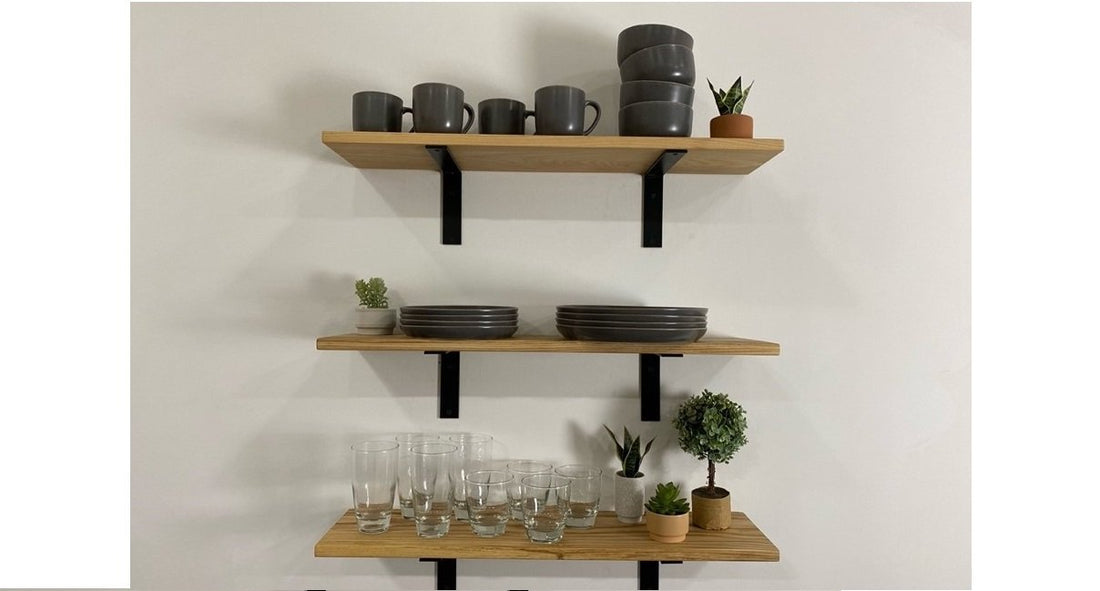
The simple answer to “What is a floating shelf?” is this: Floating shelves are shelves attached to the wall with no visible support system. They look like this:

There are three components to a floating wall shelf: the wall, a great floating shelf bracket, and the wooden floating shelves. To have a nice and sturdy floating shelf, you need all three components present.
In this next section, we’re going to talk about all the things that you should know before you install a floating wall shelf in your home.
What You Should Know Before Installing Wooden Floating Shelves
Before installing wooden floating shelves in your home or office, the following is important information to keep in mind.
Install Your Wooden Floating Shelves Directly into the Wall Studs
You might find some websites that tell you that you can install wooden floating shelves without hitting wall studs, but that’s simply not the case. Without using wall studs for support, your wooden floating shelves will need to be supported by toggle bolts or wall anchors. This will require you to create larger holes and taking a considerable risk that the bolts will open correctly and not hit anything, such as wires, behind your walls.
Reinforce Wall Studs if You Need to
Even when you’re installing your wooden floating shelves into the wall studs, you might need to reinforce them or the wall to have more peace of mind that they’ll hold your items.
This might need to be done if you have metal wall studs because metal wall studs can’t hold the same amount of weight that wood wall studs can and are more flexible. So, in this case, you will have to open the wall and reinforce the metal studs with wood studs.
Mark the Wall Studs
When you’re hanging wooden floating shelves, you must hang them off the wall using as many wall studs as you can. This is because the more wall studs used to hang your wooden floating shelves, the more weight they can hold. Typically, wall studs are spaced 16’ apart. So, after finding one wall stud, you can use this measurement to find the others throughout the wall.
Utilize Pilot Holes Wherever Possible
Make the job easier by making pilot holes into the cleat and the wall. To do this, follow these easy steps to ensure that you’re getting your screws into the right position:
- After locating your wall studs and marking them on your cleat, drill pilot holes at all the markings
- Take the cleat and position it in place on the wall, making sure that the cleat is level. Still using the smaller bit, drill through the pilot hole just enough to poke through the drywall, do this at every hole
- Remove the cleat. Then using your drill, slightly ream out the holes you’ve made into the wall
Now you can mount the cleat. Take a wood screw that’s the right size for hanging the floating shelves and slowly drill it into the cleat, ensuring that the screw catches the pilot hole you put into the drywall. Then fully drill the screw into place.
Pilot holes ensure that your screws go in straight, that your cleat hasn’t moved and is level, and there is less of a chance of your wood cleat splitting.
Support and Level the Wooden Floating Shelves Properly
After installing the floating shelf, you have to level it and support it as the glue is setting. If you have more than one wooden floating shelves against one another, you need to ensure they’re level from front to back. You can do this by using clamps.
Another leveling tip is to cut your supports slightly short, then use cardboard or shims to slowly bring the shelf to the leveled position. This is easier to do than trying to cut your supports to the exact right size.
With these tips, you’ll be able to install your wood floating shelves with the right mounting hardware securely and quickly. This is a project where you want to take extra precautions and do things right the first time.
Where to Buy the Best Wooden Floating Shelves

If you’re looking for the best wooden floating shelves that you can buy, check out Brick Mill, Co.! We make floating shelves using all kinds of natural and locally sourced wood types. So, if you want walnut floating shelves or oak floating shelves, we’ve got you covered.
Our floating shelves come with all the required mounting hardware and brackets that you’ll need to install and mount your wooden floating shelves securely.
Our walnut floating shelves and oak floating shelves are a perfect addition to any home and for any taste because they add warmth and uniqueness to every room. We start with black walnut or oak slab locally sourced in Pennsylvania, hand-sanded, and then finish with a 0 percent VOC plant-based finish.
If we don’t have the right size available for you, we take custom orders. All you need to do is reach out to use and fill out a form with your custom order request, and we’ll do the rest.
No longer will you have to settle for floating wooden shelves that don’t fit in your room. Now you’ll have wooden floating shelves that are beautifully handcrafted and fit in your room the way you want them to.
FAQ
Are Wall Studs Necessary When Hanging Wooden Floating Shelves?
Yes, wall studs are necessary. Even if what you plan on storing on your wooden floating shelves is lightweight, it’s still best if you hang them using wall studs. This makes it, so you know that they’re secure and not going to fall.
How Strong Are Wooden Floating Shelves?
The strength of your wooden floating shelves will depend on a variety of factors, including:
- Depth: A good rule of thumb is that the deeper the shelf is, the more weight it can hold – as long as it has been adequately supported with screws and rods.
- Number of Rods: The more rods used to support your shelf, the stronger it will be. Make sure that you choose shelves that come with supportive brackets and the number of rods you need. Generally, a high-quality rod can hold up to 45 pounds.
- Number of Screws: The floating shelves in your home are only as strong as the attachment to the wall, so this is something you need to pay close attention to. Ensure that you’re taking your time to support each bracket with enough screws, which will be mounted to the wall studs.
The weakest wooden floating shelves can hold up to 25 pounds, while the strongest can hold more than 100 pounds!
Can I Hang My Walnut Floating Shelves with Command Strips?
No! You should avoid hanging your walnut floating shelves with Command Strips. While Command Strips help you hang wreaths on your door, they are not capable of holding up and supporting walnut floating shelves.
Does Brick Mill Co. Supply the Hardware for Mounting the Shelves?
Yes! Brick Mill Co. will send you the necessary hardware already pre-drilled into the back of the shelves that you purchase. This makes it, so all you have to do is hang the bracket on the wall and slide the shelf onto the pegs to hang it.