Epoxy Resin Color Options and Wood Types
Live edge epoxy river tables are so much more than a DIY trend: they’re beautiful pieces of furniture and striking artwork all in one piece. With a little bit of careful planning and woodworking skills, you can create a hybrid live edge, a high-value talking point for your home.
River tables are defined by their eye-catching blend of live edge wood and mesmerizing swirls of epoxy resin color. They are timeless pieces of furniture that will be passed on from generation to generation.
But choosing the right epoxy resin color and wood type for your live edge river table can be difficult. So, in this article, we’re going to discuss epoxy resin color and wood types for making your own live edge river table.
What Wood Types Should I Use for My Live Edge Epoxy Table?
The best wood types to use for your live edge epoxy table is generally the flattest piece of live edge wood you can get your hands on – some good examples are Black Walnut, Oak, Elm, and Yew – which has been properly air-dried, so its moisture level is below 20 percent.
To achieve this moisture level, it can take a year or more when you’re letting the wood air dry. So, be prepared to wait if you haven’t begun planning to create your live edge epoxy resin color table.
Live edge wood that’s been properly air-dried helps reduce the risk of movement and helps create a more reliable and stable piece of wood to work with when you’re making your table. Alternatively, you could obtain a piece of professionally cut wood and create a curving design, but most people want the natural, live edge wood.
Preparing Your Live Edge Wood
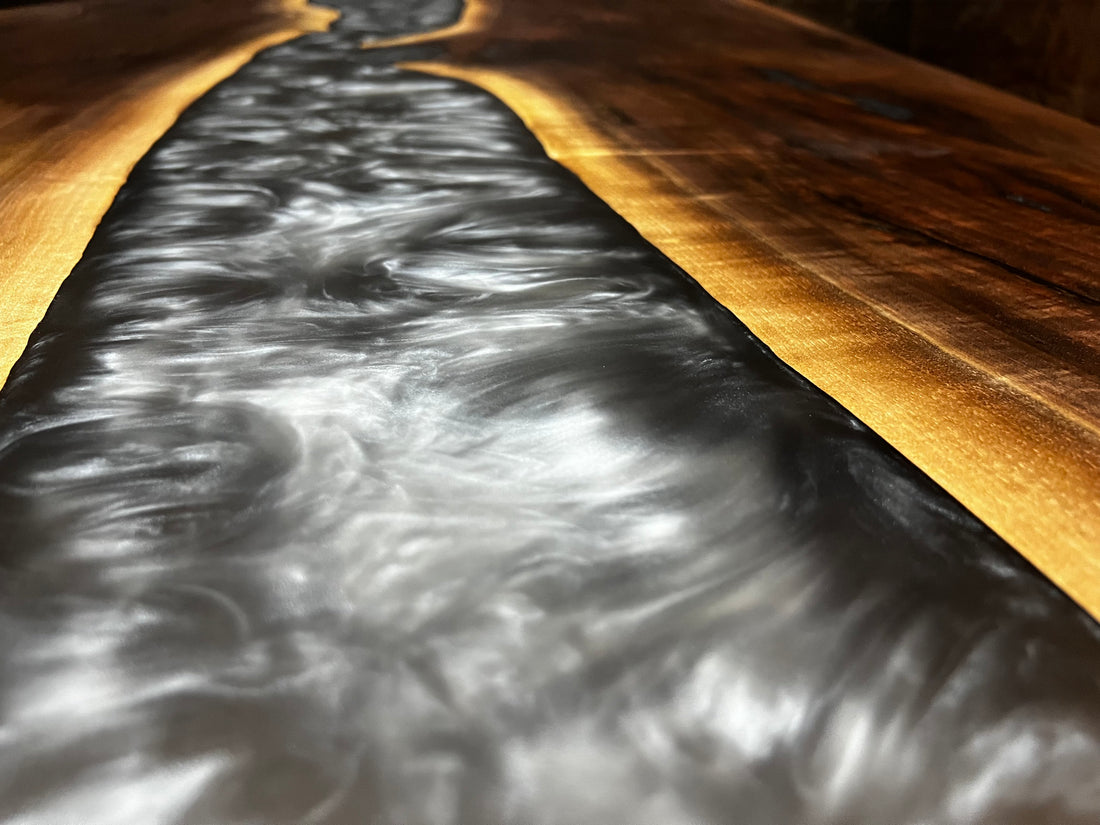
You can opt to use two slabs of live edge wood, or you can pick one large piece of live edge wood and cut it down the middle. Either way, make sure that the naturally curving edges face each other, and there’s a sizeable gap between the two pieces. You can see what we’re talking about in the picture below: a beautiful Black Walnut and black epoxy table design.

Now that the pieces of live edge wood are in place, it’s time to sand down the wood and look for any evidence of rotting or softwood – these should be chipped away if found. Then, you’ll want to take some clamps to clamp the wood to your workbench. Once they’ve been secured, use an angle grinder on the natural live edge.
You’re sanding these down to create a perfectly smooth surface that the epoxy resin color will adhere to without the risk of grain abnormalities, such as wood knots or bark, splitting away and ruining the outcome of your project.
It can be tempting to leave the bark on your live edge wood, but you must remove and sand it, so it doesn’t cause the epoxy resin color to not adhere to the wood.
Next, seal and fill the imperfections and natural edges with fast-drying epoxy. This is an important step because wood is porous naturally, meaning that moisture will pass through it over time.
By applying a thin layer of fast-drying epoxy and letting it cure before applying your epoxy resin color, you’re creating sealed and reliable wood to work with. After this layer of epoxy has cured, you can pour in your decorative epoxy resin color.
Epoxy Resin Color Options

There are many different color media that you can use to dye your epoxy resin a different color. Below you’ll find an explanation of the two best epoxy resin color options available to you.
Color Pigments
Color pigments are very easy to use, economical, and you only need a small quantity to achieve intense colors. Most of the time, color pigments for epoxy resin color are available in powder form. However, sometimes with the powder form, the color resin pigment doesn’t thoroughly mix into the epoxy, creating an incredible granular effect.
Liquid Epoxy Dye
Resin dye is available in paste or liquid form for colored epoxy resin, and these inks are the ideal coloring product for a natural epoxy resin color. The unique part about using a liquid epoxy dye for your colored epoxy resin is that it has a similar composition to epoxy, making it easier to mix the two components.
Many different options are available on the market that claim to be the best for coloring your epoxy resin. Still, color pigments and liquid dye are the best options when you want to color your epoxy for your river table.
Epoxy Resin Color: Tricks & Tips
When you add a color medium to your epoxy resin, the mixing ratio between the hardener and the resin will change, leading to problems. So, to help you out, here are a few tricks and tips to follow:
- The epoxy resin color that you choose should be highly pigmented or concentrated so that it will change the mixing ratio as little as possible
- To see if the epoxy resin color’s reaction with your epoxy is up to your expectations, mix a small amount of the resin and the color to see the result before making a big batch
- Before you begin, try getting a feel of the properties of the pure epoxy resin before adding the epoxy resin color. If you have a better understanding of how the pure epoxy resin handles when it’s uncolored, it’s easier to hypothesis how it might react with the epoxy resin color
- The epoxy resin color you use should not have water in them because water has a negative impact on the mixing ratio between the hardener and the resin
- When choosing your epoxy resin color, ensure that it’s lightfast. This means that the color will hardly fade as it ages. Creating an epoxy table with clear epoxy makes it hard to notice it turning yellow with age because of its exposure to UV light. But with epoxy resin color, the fading of the color is noticeable
How to Make Epoxy Resin Color
- Have all materials handy because epoxy resin cures quickly during the application, so time is of the essence
- Protect your workspace from splashes
- Wear protective goggles, nitrile gloves, and a breathing mask when working with epoxy resin because your health is the most important thing to protect
- First, mix the hardener and the resin thoroughly in the ratio that the manufacturer recommends
- Once you’ve mixed the two components, it’s time to add your epoxy resin color. Add a small amount of liquid dye or color pigments to the mixture and mix thoroughly. Repeat this step until you’ve reached the desired color
- Remember that you don’t want to influence the mixing ratio and impair the hardening process negatively. So, the proportion of epoxy resin color should be less than 5 percent
Final Thoughts
Epoxy resin color is a great way to create a unique live edge epoxy table that will be the centerpiece of any room. When picking out the live edge wood for your project, remember to get live edge slabs that are flat, such as Black Walnut, Oak, Elm, and Yew. Then follow the steps we go through above to create a beautiful live edge epoxy table.
When you’re ready to create your epoxy resin color, there are two types of color options available to you: color pigment and liquid dye. These are the best two options because they don’t negatively impact the mixing ratio as much as other types of epoxy resin color.
If you want an epoxy resin color live edge table, but you don’t want to go through the process of creating one yourself, check out our website for our listings of epoxy resin color live edge tables!