River Tables vs Slab Encased Epoxy – What’s the Difference
Making an epoxy river table or slab encased epoxy table can be a challenging process, but when they’re made correctly, the finished table speaks for itself. While a river table and a slab encased epoxy table sound like they look the same, they’re a little different in appearance.
In this article, we will talk about what a river table and a slab encased epoxy table are and the difference between the two types of epoxy tables. Then we’ll briefly talk about how to make each type of table.
What is a River Table?
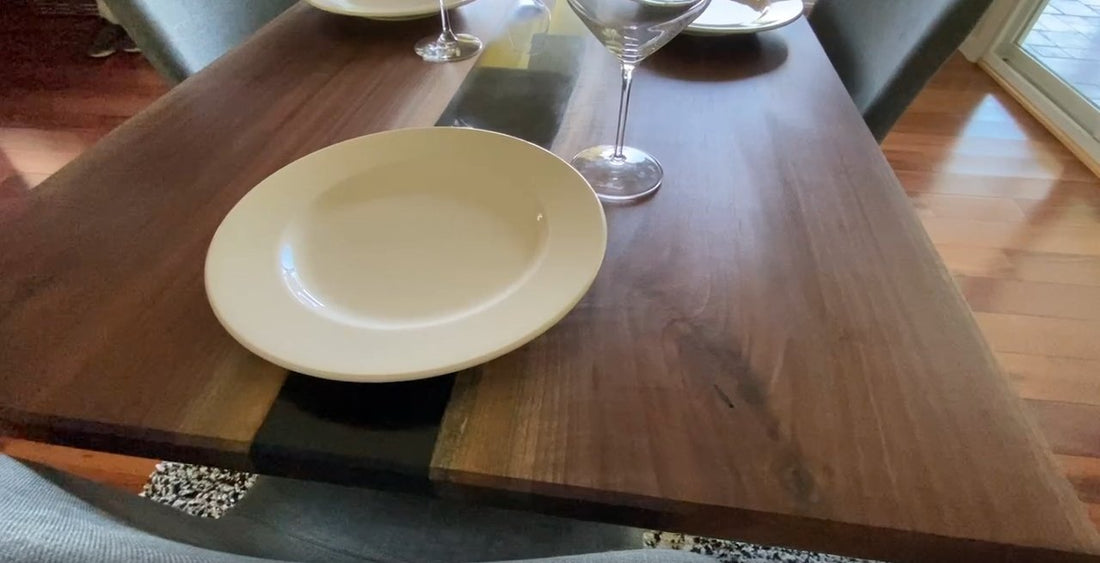
A river table is a wood epoxy table made from two slabs of live edge wood, sometimes from the same slab, with epoxy poured down the middle. The epoxy fills the gap between the two slabs of live edge wood hardens, and the look of the epoxy is like a river. Below is a picture of a completed epoxy resin river table made by our woodworkers.

What makes an epoxy resin river table unique is that the natural, live edges of the wood slab are encased in epoxy, making them stand out more.
What is a Slab Encased Epoxy Table?
A slab encased epoxy table, or a reverse river table, is a wood epoxy table with a live edge wood slab surrounded by epoxy. So, the wood fills in the middle, and the epoxy resin creates the outside edges.
A wood slab encased epoxy resin table is different than a river table because the epoxy makes up the outside of the table. This means that the live edge slab of wood is fully encased in the epoxy, making all wood sides stand out. An example would be our Ocean Walnut Epoxy Table.
How to Make a River Table
1. Pick Out Your Live Edge Wood Slab
You need to first pick out the type of wood you want to make your river table. Make sure that it’s both air and kiln-dried, especially for much larger tables that can warp over time. Some of the most popular types of wood used for river tables are black walnut and maple. For larger tables, you may need two slabs of wood.
2. Cut the Slab in Half and Flatten the Slab
Cut your live edge slab down the middle, then square the edges so you can put them in a mold. Then use a slab flatter to flatten the slab of wood to remove any high spots. This process ensures that the wood is flat, so the river table has a smooth top.
3. Remove Any Bark and Sand the Wood
This is a crucial step to follow because it will help the epoxy bond to the wood. We hand sand our live edge wood and typically start with 80 grit sandpaper and work our way up to a finer grit, ending at 220. Make sure that you remove any loose bits and bark from the edges of the wood.
4. Create a Mold
Put a 2” thick piece of wood around the live edge slabs once you’ve positioned them how you like them. We also recommend using a flat piece of plastic under the wood, so the epoxy dries on a flat surface. Remember that the wider apart you place the slabs, the more expensive the pour will be.
5. Caulk the Top, Bottom, and Ends of the Slab
Use caulk to make a dam, so the epoxy doesn’t overflow onto the tabletop when you pour it.
6. Clamp the Wood in Place
Use parallel clamps to hold the wood slabs in place as you pour the epoxy into the middle of the tabletop.
7. Mix Your Epoxy Resin and Do a Deep Pour
Mix your epoxy according to the manufacturer’s instructions and color your epoxy if you’re planning on doing so. Pour a thin layer of epoxy into the middle of the table and let it dry completely. This is a great way to see if there are any leaks in the mold.
Once you know that your mold is good and the color is right, you can do your final deep pour to complete your river table. Then let it dry thoroughly overnight. Then finish it off by sanding the piece.

How to Make a Slab Encased Epoxy Table
1. Pick Out Your Wood and Flatten the Slab
Pick out the live edge slab of wood you want to use for your slab encased epoxy table. Then you want to flatten it using the same technique mentioned above to make the river table. Again, you want to make sure that the wood slab is as flat as possible to create a smooth surface for the finished table.
2. Cut the Slab to the Right Size, Sand, and Create Your Mold
Cut the slab of wood to the right size and shape for your table. After cutting it down to the right size and shape, you need to sand it down, so it’s nice and smooth when you pour the epoxy. Make sure that you also remove any bark so the epoxy adheres to the wood securely.
After sanding down the slab of wood, it’s time to make your mold. Just like with the river table, you’re going to use a 2” thick piece of wood around your live slab of wood – leaving an area around the slab to encase it in epoxy – and position the live slab of wood how you want it to be.
3. Caulk All the Seams
Now that your mold is made, caulk around the seams of the mold to ensure that no epoxy spills out from the edges of the mold. Then put the live edge slab of wood in place.
4. Mix Your Epoxy and Do the Deep Pour
Now that your mold is ready and your live edge slab is in place inside it, it’s time to mix the epoxy and do a trial pour. To do this, pour a little bit of epoxy around the wood to make sure that it’s the right color and dries properly. Once you’ve made sure it’s good to go, it’s time to do your deep pour to complete the reverse river table.
Final Thoughts
Now that you know the difference between a river table and a slab encased epoxy table, you can determine which style fits your home décor best. Remember that a river table is a table that has epoxy flowing through the middle of two slabs of live edge wood, and a reverse river table has epoxy surrounding the live edge wood.
Hopefully, this guide has helped you realize what kind of epoxy table you want, and you gained a better understanding of how they’re made.