Your Guide to Wooden Shelves – How to Install, Mount, and Decorate Your Shelf
Installing, mounting, and decorating wooden shelves can seem daunting, but with the right advice, it’s an easy job to do. Floating wooden shelves are supported without visible hooks or brackets to rest on. Don’t let the lack of visible support for this open shelving scare you away from using it – anyone can install this type of shelf easily themselves.
If you follow the step-by-step instructions listed below, you’ll learn how to install and mount your wood shelf. After that, we’ll talk about how to decorate your small wood shelf.
How to Install Wooden Shelves
You should read the manufacturer’s instructions included with your specific DIY shelves before installing and mounting them. Also, ensure that all the necessary mounting hardware you need is included with the shelving unit you are about to hang.
Required Tools
- Screwdriver
- Power drill
- Drill bits
- Level
- Pencil
- Stud finder
- Wall anchors (Optional)
- Hammer (optional)
1. Find the Wall Studs
If your small floating wall shelf is going to be heavy and you want it to hold a lot of weight, you need to install the shelf directly into the wall studs. The more studs you find that you can install your small wooden shelf into, the more weight it can hold.
To find the wall studs, use your wall stud finder where you plan on hanging the floating wall shelf. Using your pencil, mark where each of the studs is. If you can’t find any wall studs, you’ll need to use a wall anchor – these are mentioned in step 3.
2. Figure Out the Placement of the Small Wooden Shelf
Figure out where you’ll hang your small wooden shelf by lining it up to the wall studs to create a more secure hold. Next, hold the small wooden shelf up in the area you want it to be hung, and mark out the outline using your pencil.
Place the small wooden shelf off to the side, then hold up the mounting bracket to the shelf outline and match the bracket’s screw holes with the studs. Next, use a pencil to mark where those screw holes are going to be on the wall. If you can't find wall studs, we’ll talk about what to do in the next step.
3. Create the Bracket Holes
To create bracket holes, use a drill bit that’s the same size as the wall anchor or screw you are using. Create holes based on your bracket markings on the wall, and don’t screw them in completely yet.
If you need to use wall anchors because no wall studs were found, install them now using a hammer. Tap lightly to push the wall anchors into the hole. Again, if you find a wall stud, you don’t need to use a wall anchor.
4. Install the Shelf Brackets
Line up the small shelf brackets to the new screw holes you created and lightly screw everything into place onto the wall (don’t screw it in completely). Next, grab your level and place it against the shelf brackets to ensure that it is level. If it is, fully screw the shelf brackets into place. If it isn’t, you need to adjust the placement of the bracket until it’s level.
5. Hang the Small Wooden Shelf
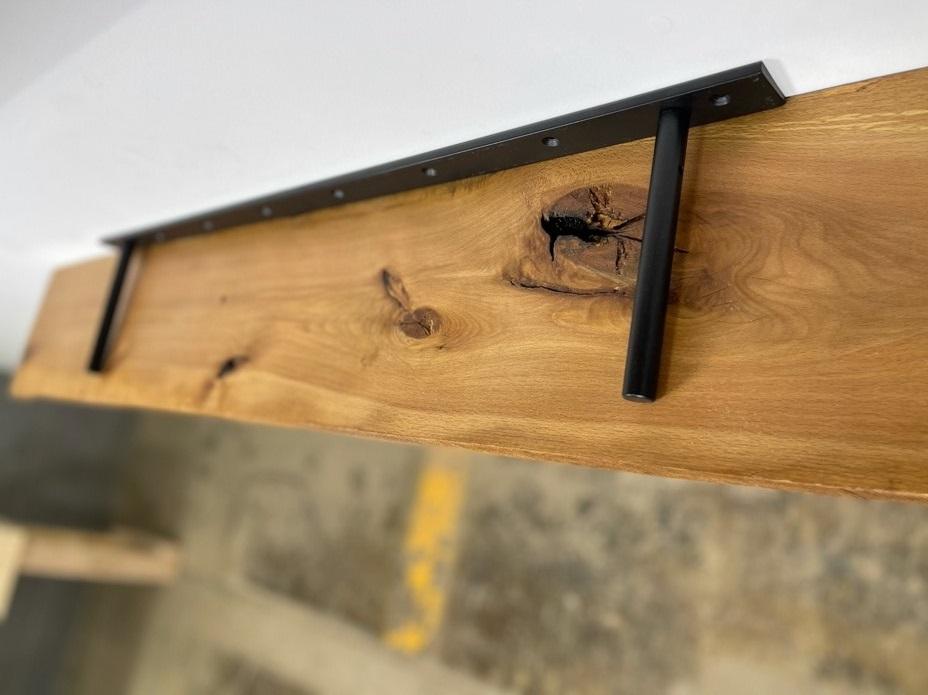
Once you have the brackets installed, it’s time to hang your wooden shelves. The bracket is typically inserted into the back of the small wooden shelf, which creates that floating appearance.
Line the holes on the back of the small wooden shelf up with the extensions of the brackets and slide the shelf over them. Some brackets have holes on the top where the shelf sits. If yours does, take the time to secure a screw into those holes to secure your shelf.
Decorating Your Wooden Floating Shelves

Now that you know how to install and mount your wooden shelves, let’s talk about how to decorate them. A maple wall shelf or pine shelves are great types of floating shelves to use when you’re trying to decorate. This is because they are uniquely beautiful, strong, and the colors are incredible.
So, let’s talk about how to decorate your maple wall shelf or pine shelves so they are appealing to the eye!
Think About What You Love
Instead of putting random objects on your maple shelf, try to figure out what you like. If you want to put together a fall small wooden shelf, try looking up some decorating ideas on the internet to help you get some inspiration. For example, you could use:
- Lots of texture
- Aqua colors
- Neutral colors – white/gray
- Wood tones
- Wheat
- Feathers
- Hydrangeas
- White pumpkins
These are just some ideas! You can do whatever you want with your pine shelves. Take time to look around for inspiration and write down any ideas that catch your eye.
Look Around Your Home
Now that you have a list of items that you would like to decorate your pine shelves, take a look around your house to see if you have the items. Once you have everything down by the wooden shelves, you can start throwing objects up on the shelves to see what looks good and what doesn’t in this extra storage space.
This doesn’t have to be a “one and done” situation. Keep editing until you find a good selection of items that you think works best on your newly hung rustic floating shelf.
Choose Your “Leaners”
The next few tips can be done in various orders and can happen simultaneously too, but leaners tend to be larger objects, so we’re going to begin with those. What are leaners? These are objects leaned up against the wall and are typically used to fill in the background of your wooden shelves. Some great leaners are large frames, wreaths, or mirrors. You can even use an old window, a tapestry, or plates!
Put the Tall Items on the Ends
Height creates a visual balance that makes your wooden shelves look neat and put together, which is especially beneficial in a small space. You can use natural elements such as sticks and flowers for your tall pieces. In the fall example above, you could use wheat or feathers for your tall objects.
You don’t always need to follow this rule. If something tall looks better in the center of your new shelving unit, then go for it.
Create Layers
After you’ve found your leaners and tall items for your new rustic floating shelf, start to fill in the gaps and create layers with objects on your floating shelf. Here are some things to keep in mind when creating layers:
- Use items that repeat throughout your display to make your wooden shelves look cohesive.
- Group things in 3s or 5s. This means that when you’re layering or stacking items, try to make the stacks with 3 or 5 objects. We also recommend cascading your items downward, so your eye follows them from top to bottom.
- Try putting items at different depths. This will help you create a layered look, especially if you put some items closer to the front and some closer to the back. An exception to this is if you have a repeating item, such as vases with the same flowers, try to line them up to create an eye-catching display.
- Try layering frames on top of other frames. This is one of the easiest ways to layer objects. The back frame will have a nice, patterned image, and the front frame will have a more interesting picture.
- Use texture as much as you can to create depth and make your shelves look polished.
Edit!
Take breaks often when decorating your wooden shelves, so you see your shelves through the decorating process with fresh eyes. This will help you see where items need to be moved or added. This is the best way to avoid becoming frustrated with your design! If you notice that you walk away and don’t touch your small wooden shelf in a couple of days, you’ll know that you’re done.
Second Pair of Eyes
If you can’t quite figure out what’s right for your wooden shelves, ask for a second pair of eyes. Recruiting someone to help you see what you can’t see is a great way to finish decorating your wooden shelves. This is a great option when you feel overwhelmed and feel like you have spent hours staring at the shelves. You might find that they have ideas that you wouldn’t have had.